Configuring Document Library
Create New Library
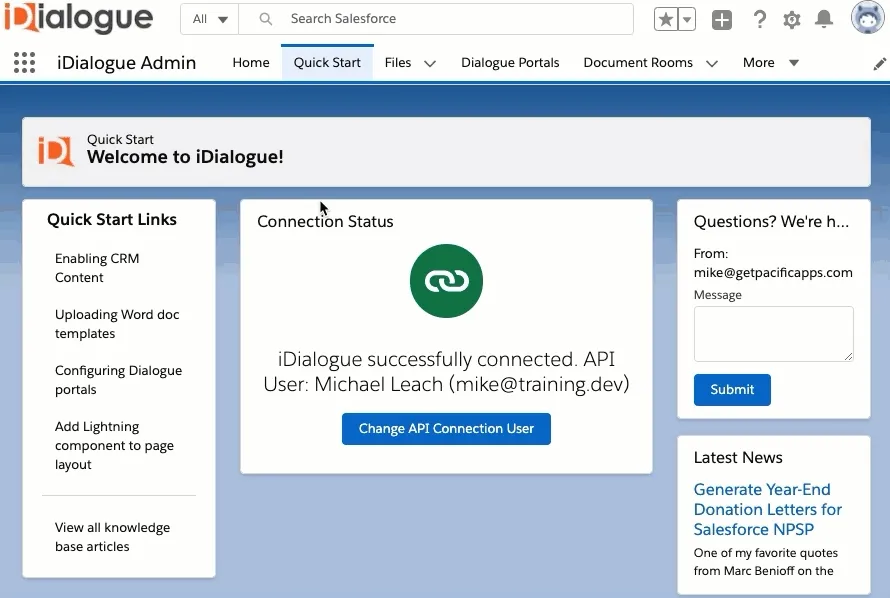
- Launch the iDialogue Admin app and select the Files tab.
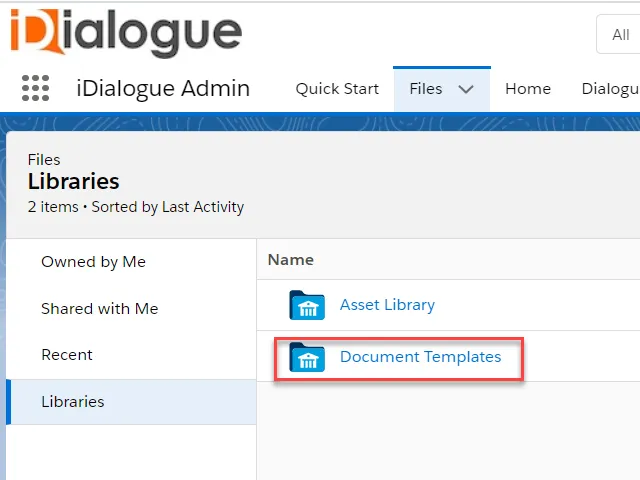
- Click on Libraries on the left menu and create a new library
- Example new library name “Document Templates”
- Click on Manage Members and add users or groups that will generate or eSign documents in the library
Upload File
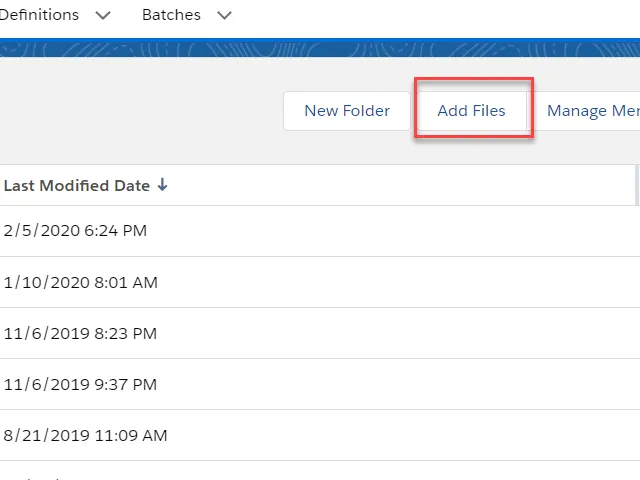
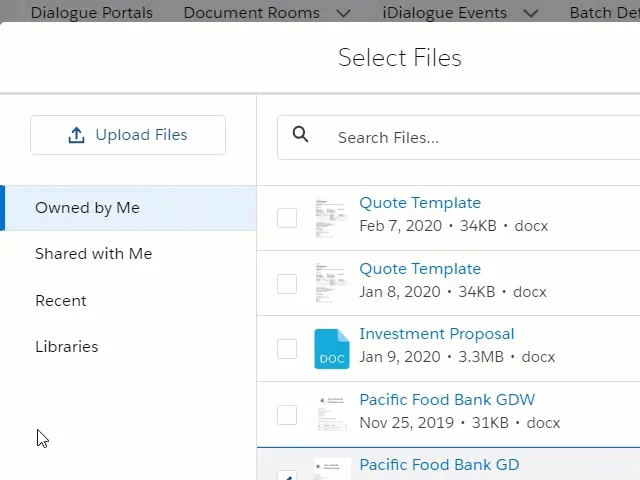
- Select the document template library folder and click on “Add Files”
- Upload any Microsoft Word document as a template.
Note: It’s recommended to use the Opportunity eSign Template provided on the Pacific Apps website
Go to Document Templates folder.
Click Add files button.
Click on Libraries and then Document Template folder and click on Upload File button.
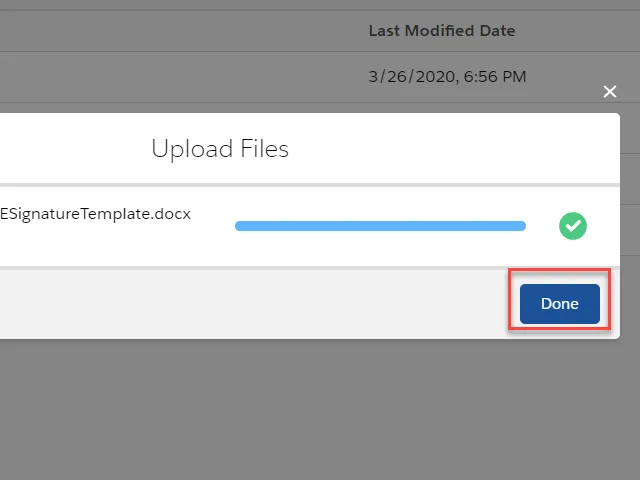
Click on Done button.
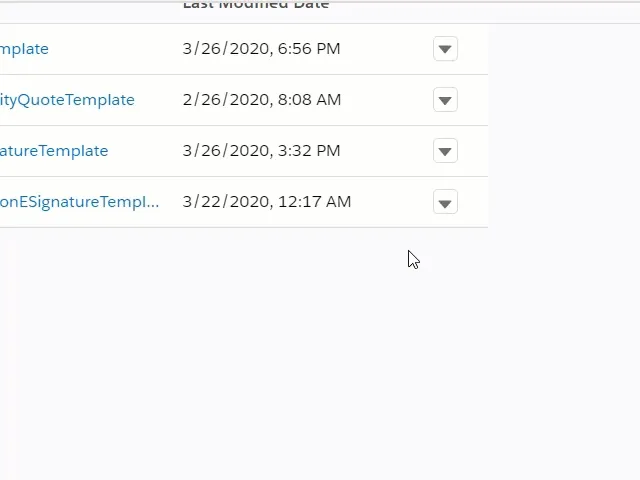
View File Details
Click on template’s View File Details.