Setting up Custom Button
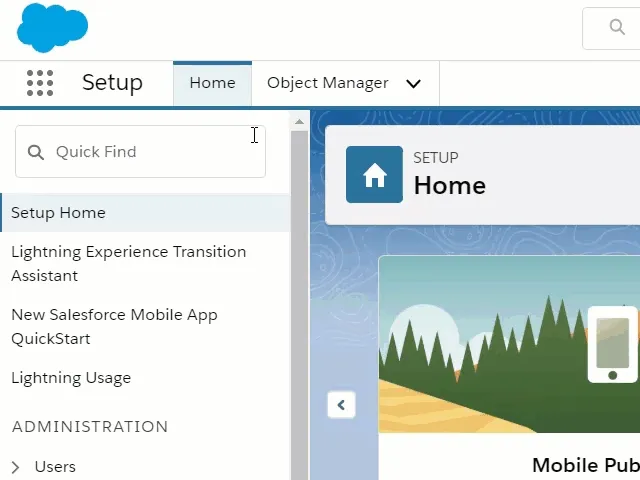
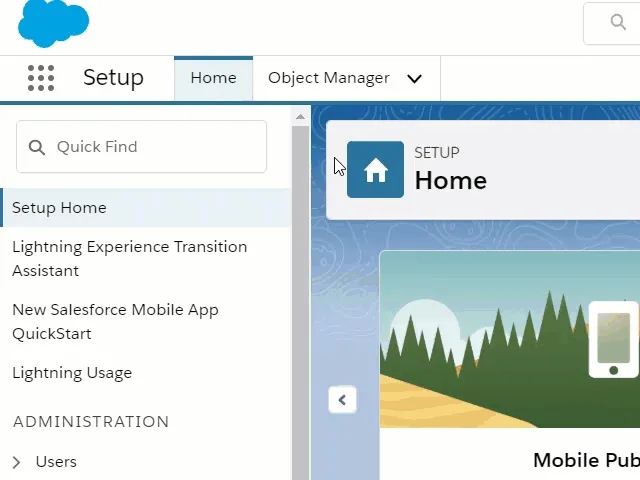
Click setting gear icon and click Setup > Object Manager tab
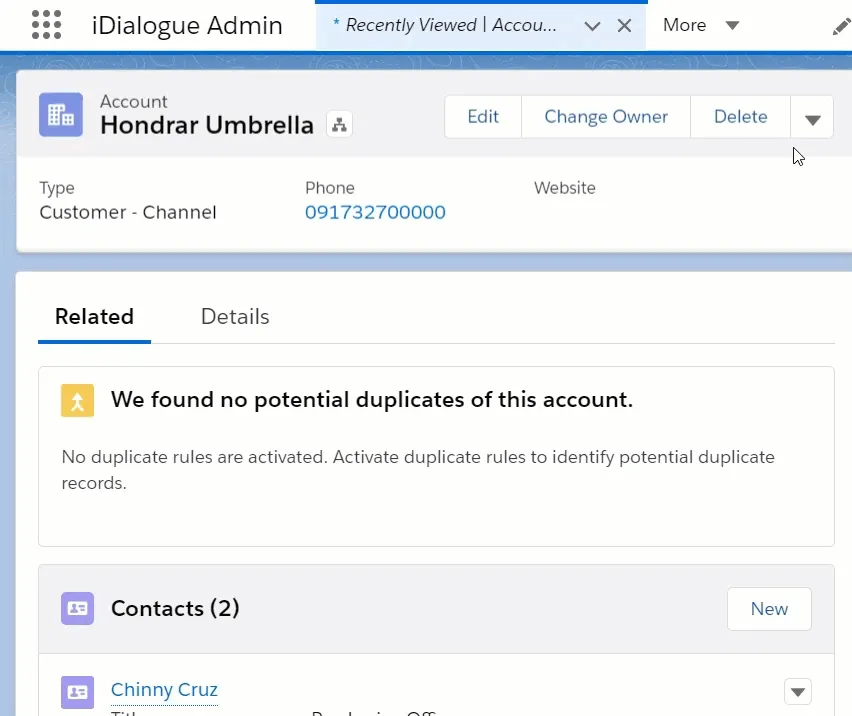
Select an object. e.g. Account
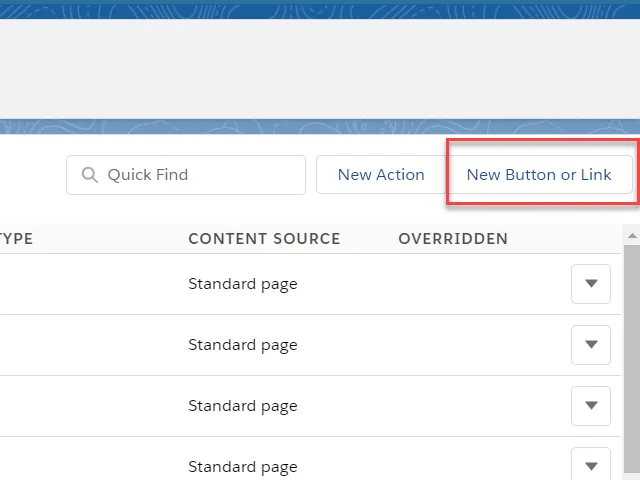
Click Buttons, Links, and Actions
Click New Button or Link button.
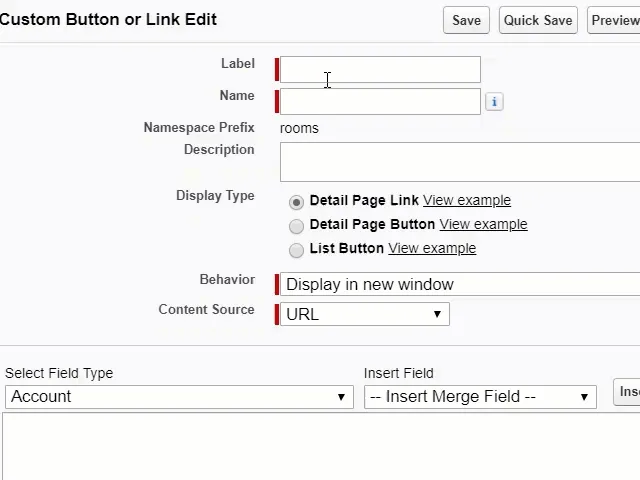
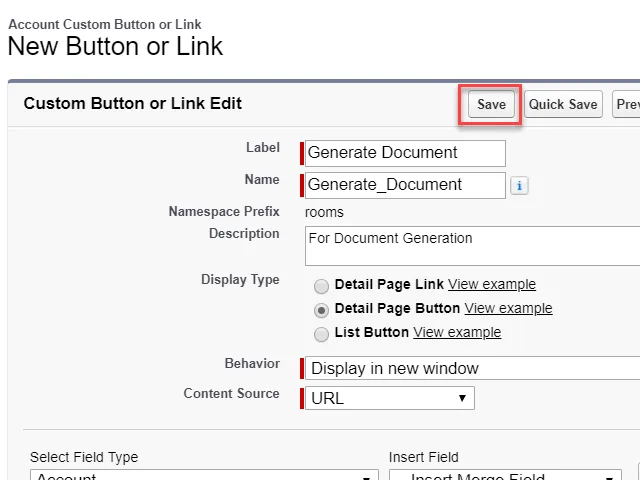
Enter Button Details.
Note : Display Type should be Detail Page Button
Behavior is Display in New Window
Set Content Source to URL
Set format by entering syntax below. Align id with what object is chosen.
{!URLFOR(“/apex/rooms__GenerateDocument”, null, [id=Account.Id])}
Note: the file name can optionally be passed as a parameter in the URL. /apex/rooms__GenerateDocument?filename=defaultFileName.pdf
Click Save button.
Modifying Page Layout
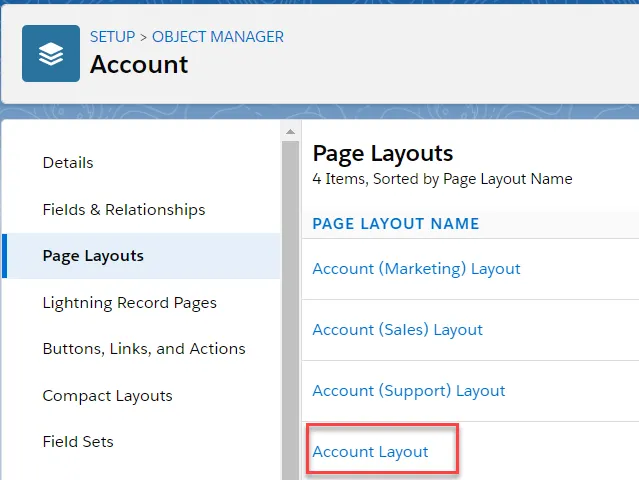
Go back to Object Manager >> Account Click Page Layout
Choose a page layout. e.g. Account Layout
Drag and Drop Generate Document to Custom Button area, and then save changes.

Viewing Custom button
Go to Accounts and select any account.
Click on drop down menu to view the Generate Document button
Document Generation
Go to an account record.
Click Generate Document button
Choose a document template e.g. Master Service Agreement
Select output format. PDF or Word DOCX
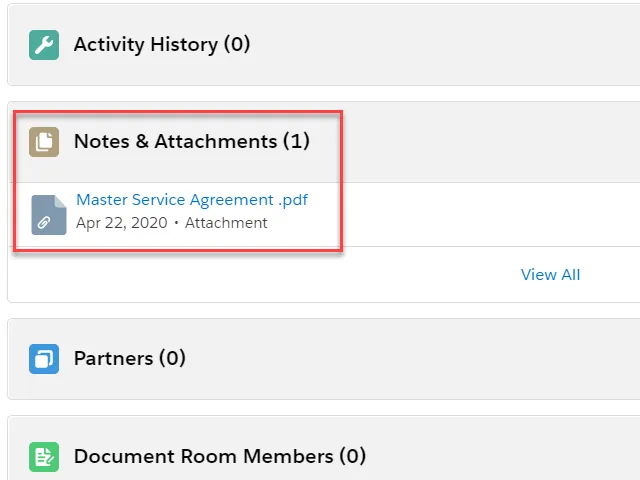
Enter Attachment File Name.
Click Generate Document and Attach to Record button
System will then attach the document to Account Notes and Attachments section