Implementing Checkbox Templates
Government forms and paper-based forms often implement checkboxes in documents. The generation of pre-filled forms can be automated by data-binding Word checkbox controls to Salesforce fields.
Checkbox Controls
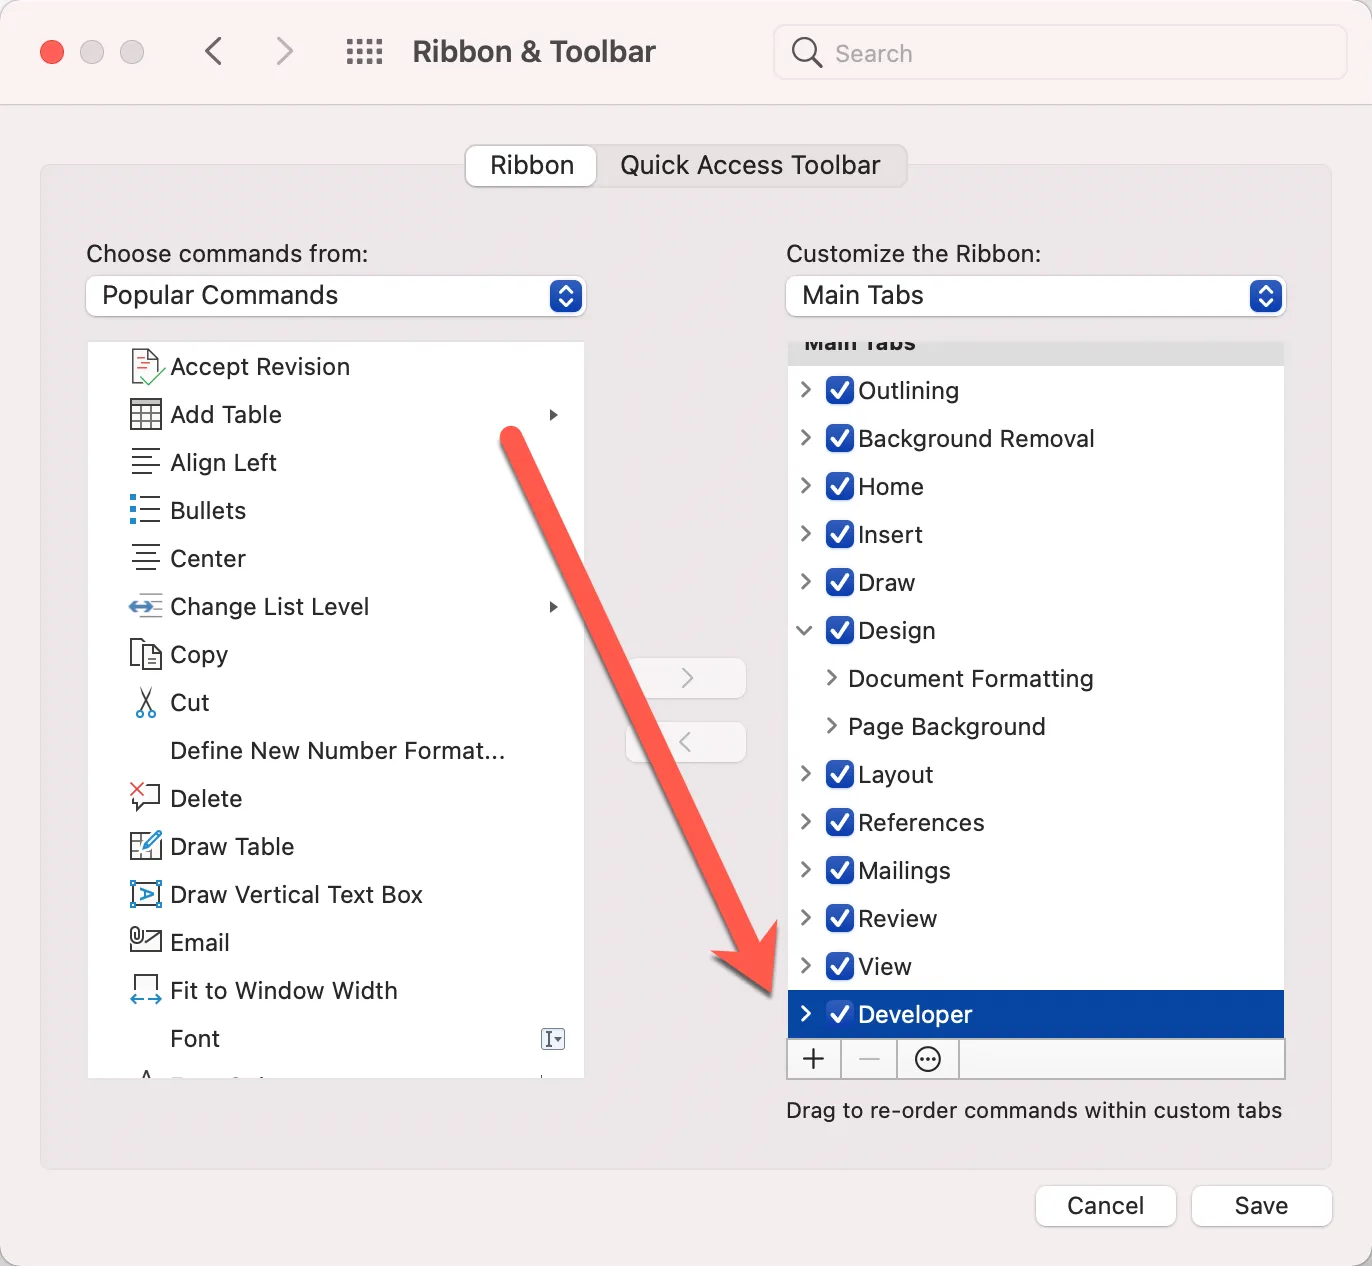
Microsoft Word makes checkbox controls available under the “Developer” tab/ribbon.
The Developer tab is often not enabled by default.
See this Microsoft support article for details on how to enable this tab.
Assigning Tags to Checkboxes
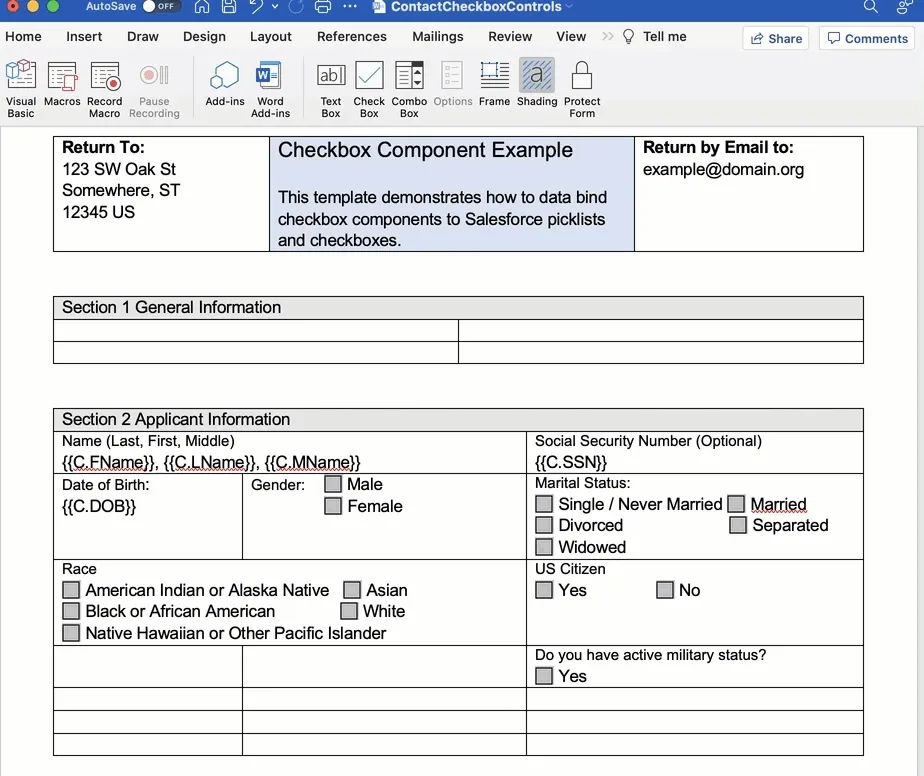
After adding a checkbox to a page, follow these steps to define a merge tag.
- Right click on the checkbox and select “Properties”
- Select “Add Help Text…”
- Choose “Type your own:“
- Enter a merge tag with
valueattribute.
The image example below uses the merge tag syntax {{C.Military value="false"}}
This merge tag is interpreted as:
- “C” is shorthand for the “Contact” record being merged.
- ”Military” is shorthand for a Salesforce checkbox field.
- The
valueattribute indicates the Salesforce field value that enables the checkbox asselected.
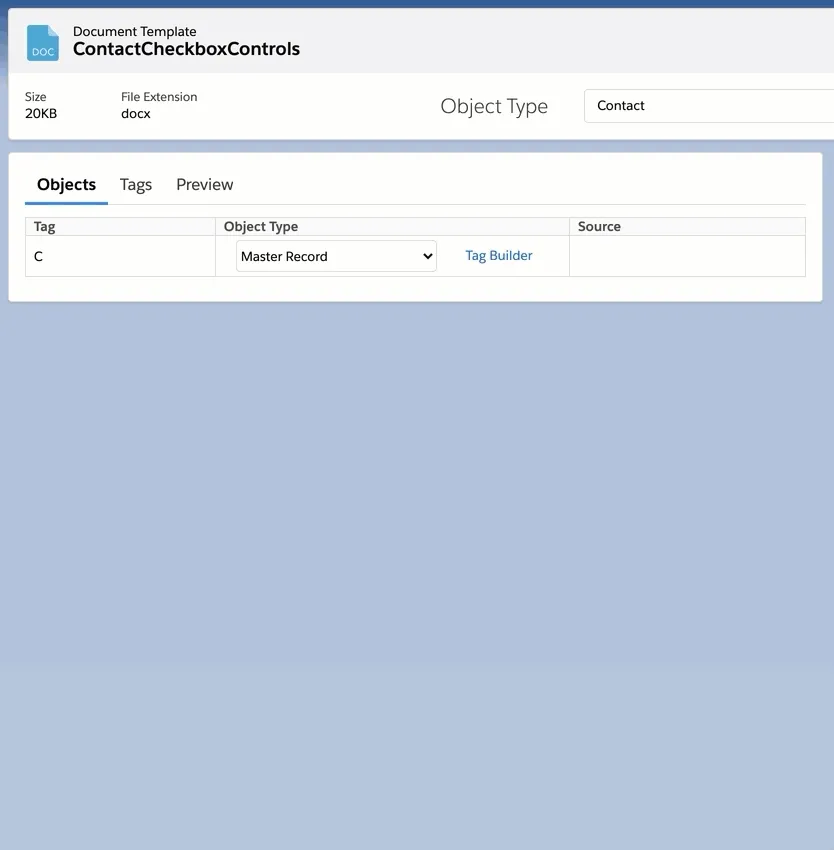
Map Checkbox Tags to Salesforce Fields
After uploading the file to Salesforce files, enter the tag builder and map the tags to Salesforce object types and fields.
Ensure the value of the fields matches the tag value attributes.
Checkboxes can be mapped to Salesforce native picklists, checkboxes, text fields… any field that produces a value for use in data-binding.
For picklists, use the API name as the checkbox tag value.
For Salesforce checkbox types, use true or false for the tag value.